

I got a 1:6 scale MK46 Mod 0 light machine gun (LMG) model kit. It's a cheap knockoff but it looks good and easy to put together even without using instructions. I want a specific character and action figures in my main collection to hold and use this gun so I painted it and made it a quick DIY project.

After sanding the pieces and building the kit, it looks like a real thing. It also got some movable parts but it doesn't have a spring for the shell ejector. You can also customize it with different attachments like dot sights, foregrips etc.

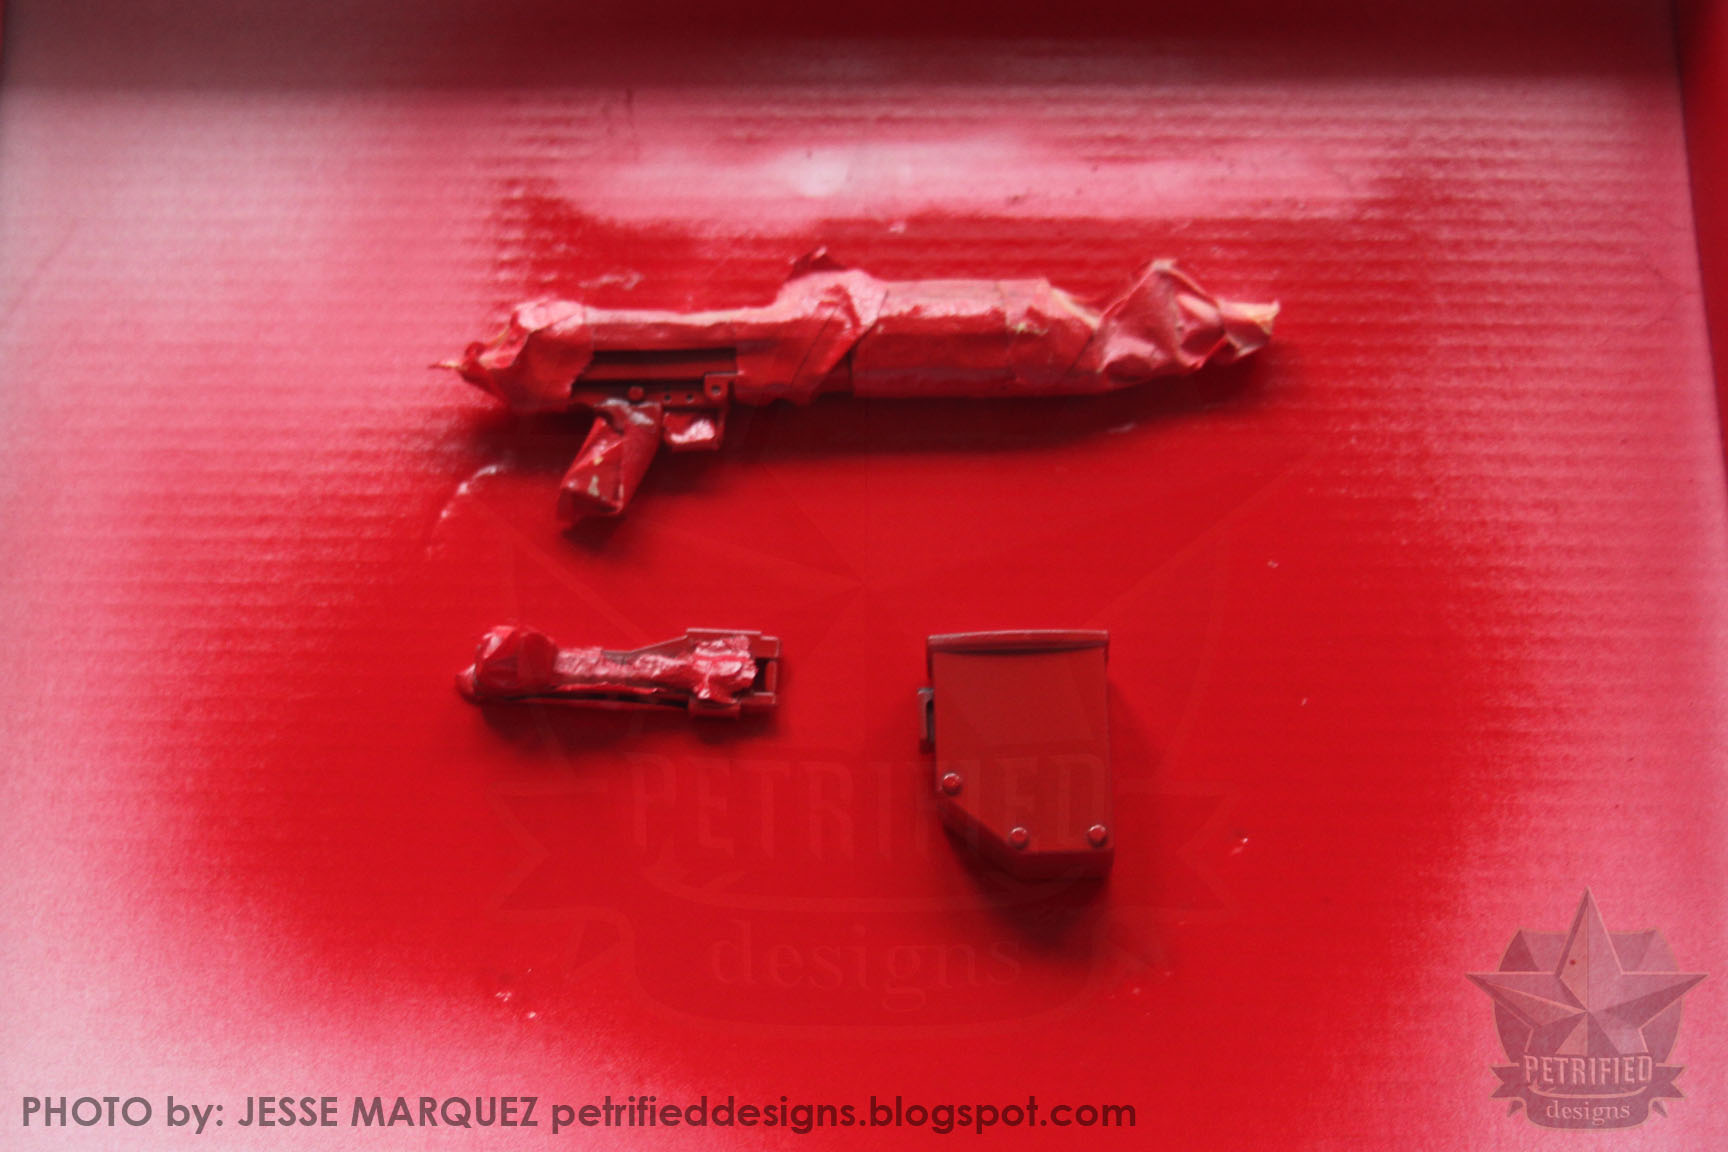
Time to paint the kit. I got my masking tape ready and covered the parts of the kit that I don't want to paint. I left some parts just black: stock, dot sight, bi-pod and the bullet shell ejector (don't know the name of that part).

I got cheap acrylic epoxy spray paints from Mr. D.I.Y.. I chose red to paint most part of the kit and sparkling gold (no available normal gold color) for the bullets.
I don't have any white or gray primer to make the red color pop even more. So I directly sprayed the paint on a black plastic surface.

Gold color doesn't have a problem on any black surface so the bullets looks good, they just have some sparkly glittery effect, good thing that it's not that noticeable if you don't take a closer look.

They are now painted. I also handpainted the white lines on the gun, by the way. The project is not over yet. Time to get the Flat Clear (matte) Tamiya top coat.

After top coating the kit, I put them back together and this is the final product. It looks really good!

As I mentioned before, this kit can be customized by attaching different compatible accessories on it. But I plan on kitbashing it with different incompatible parts in the future.

The masking tape adhesive (and the quality of the plastic) left an effect after top coating the kit with matte clear paint. It surprisingly made the kit look worn and rugged just like I wanted. I guess drybrushing the kit is now optional.

The gun's huge magazine is painted red and left it just like that.

The white parts are hand painted and made a small emblem (see the 4 sloppy white dots) on the gun's iron sight. Those dots are painted by using a toothpick because I lack some art tools/materials.

The white painted parts on the left side looks much better because of the flat surface. The 4 white dots looks even better here.

This is the reason why I painted the kit, to make it look closer to the LMG Harley Quinn held in Batman: Arkham Knight. Fun fact: the LMG Harley uses in that game is heavily modified and she never fired it in the game canonically. Anyway the 1:6 scale gun is a little big for the 1:7 scale Play Arts Kai Harley Quinn (B:AK) and can't hold it very well but it still looks good.

The kit (gun) also looks good with other large scale Harley Quinn figures like this Play Arts Kai Variant Harley Quinn (Nomura designed). The gun's magazine is supposed to have a picture of Arkham series Joker taped on it but I just left it just red so that other versions of Harley can also hold it.
While I'm happy with the result of my small DIY project, I still want to make some improvements on the kit. I want to fix that Harley logo on the kit and probably kitbash some parts on it to make it at least 80% to 90% accurate to the gun Harley uses in the Arkham Knight game.
Cheers!
No comments:
Post a Comment